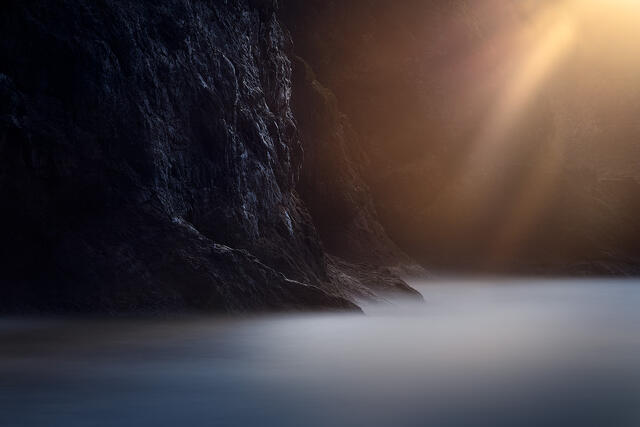
How To Improve Landscape Photography: 10 Field-Tested Techniques That Actually Matter
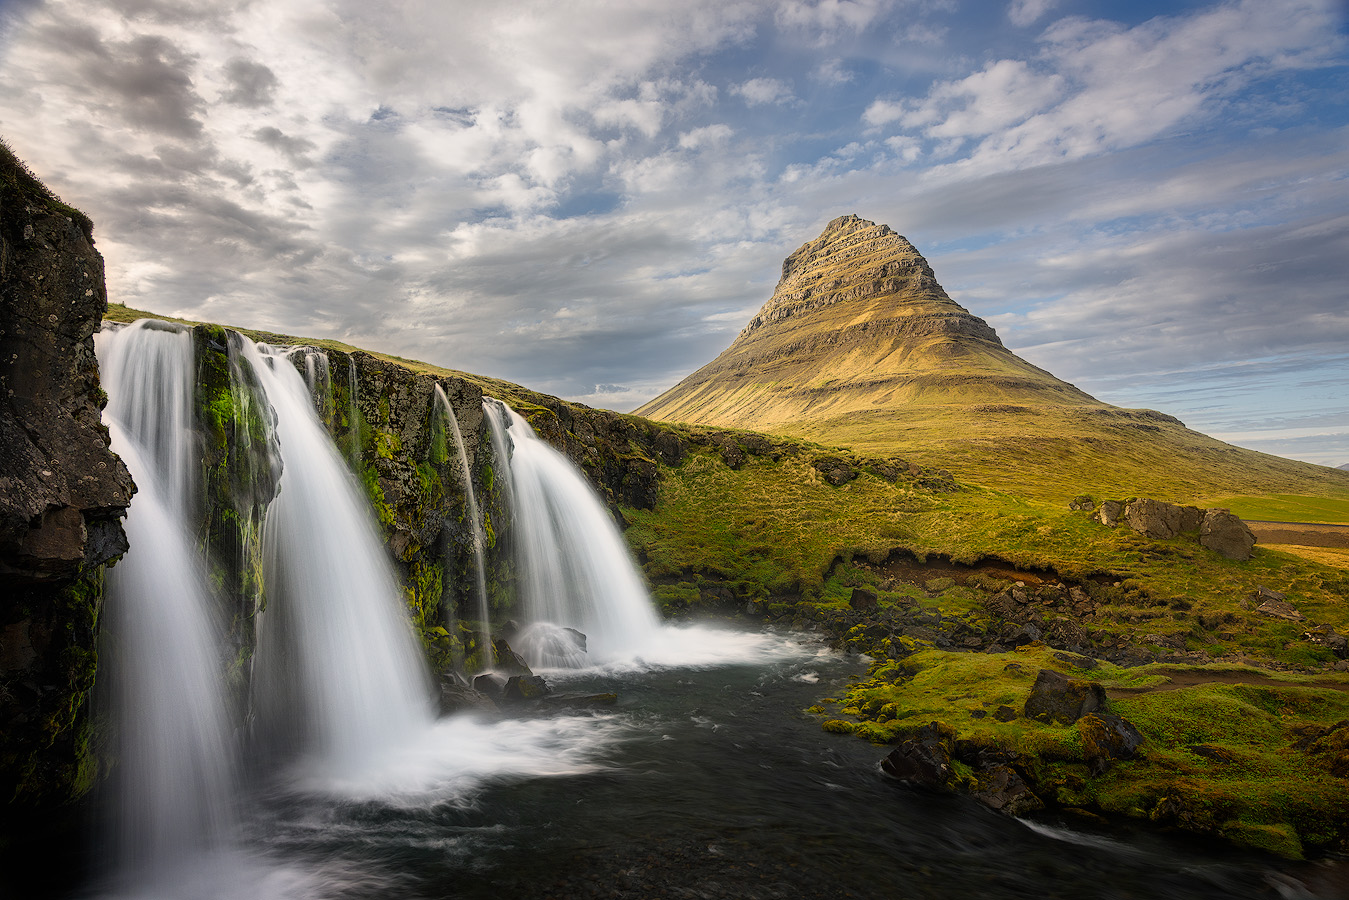
I've spent more than twenty years taking photographs of landscapes, and if I had to point to the one thing that separates a landscape photo worth printing from one you delete on the drive home, it's composition. Full stop.
You can have good light, a high-end camera, and a location that belongs on a postcard — but if the arrangement of compositional elements in your frame doesn't hold, nothing else saves the photo. That's the difference between a good landscape photo and one that actually stops someone mid-scroll.
But good composition alone isn't enough. Light, camera settings, lens choice, photo editing restraint, planning, and patience all feed into creating impactful images. These are the landscape photography tips that actually moved the needle for me — not theory, not gear reviews dressed up as advice.
These are lessons from shooting in rivers at 4 AM in the Alaska Range, kneeling on frozen beaches in Lofoten, and making every mistake you can make with a camera in the field. If you want to create images that hold up on a wall, not just a phone screen, this is where I'd start.
Why Composition Is the Foundation
Composition is the structural backbone of any strong photograph. It determines what the viewer looks at, how their eye moves through the frame, and whether they stay for two seconds or two minutes.
Most online landscape photography tips stop at the rule of thirds and leading lines — important starting points, but barely the beginning. Any landscape photographer who wants to produce consistently strong landscape pictures needs to go deeper into understanding how compositional elements interact within the frame.
When I lead workshops, the photographers who improve fastest aren't the ones memorizing rules. They're learning to see — to walk into a location and read where the natural lines pull viewers attention, what's competing for the eye, and what anchors the subject within the frame.
For example, a creek bed looks like just water until you crouch down and realize it draws a perfect S-curve straight to the mountain behind it. That shift — from applying rules to reading what's in front of you — changed more about my creative process than any piece of gear I've ever owned.
How Foreground Adds Depth to Your Images
Getting low and including what's at your feet is one of the most efficient way to capture a stronger landscape photo. Rocks, wildflowers, frost patterns, tide pools — any of these can anchor the bottom of your frame and pull the viewer into the shot.
I spent years shooting at eye level. Every landscape photo felt flat — like a postcard, not a place. The day I got on my knees in front of ice formations on the Chena River and let them fill the lower half of the frame while the Alaska Range stretched out behind — that was a turning point.
The photo had dimension for the first time. When you shoot with a wide angle lens, getting within inches of a foreground object exaggerates the distance between near and far, amplifying that sense of scale.
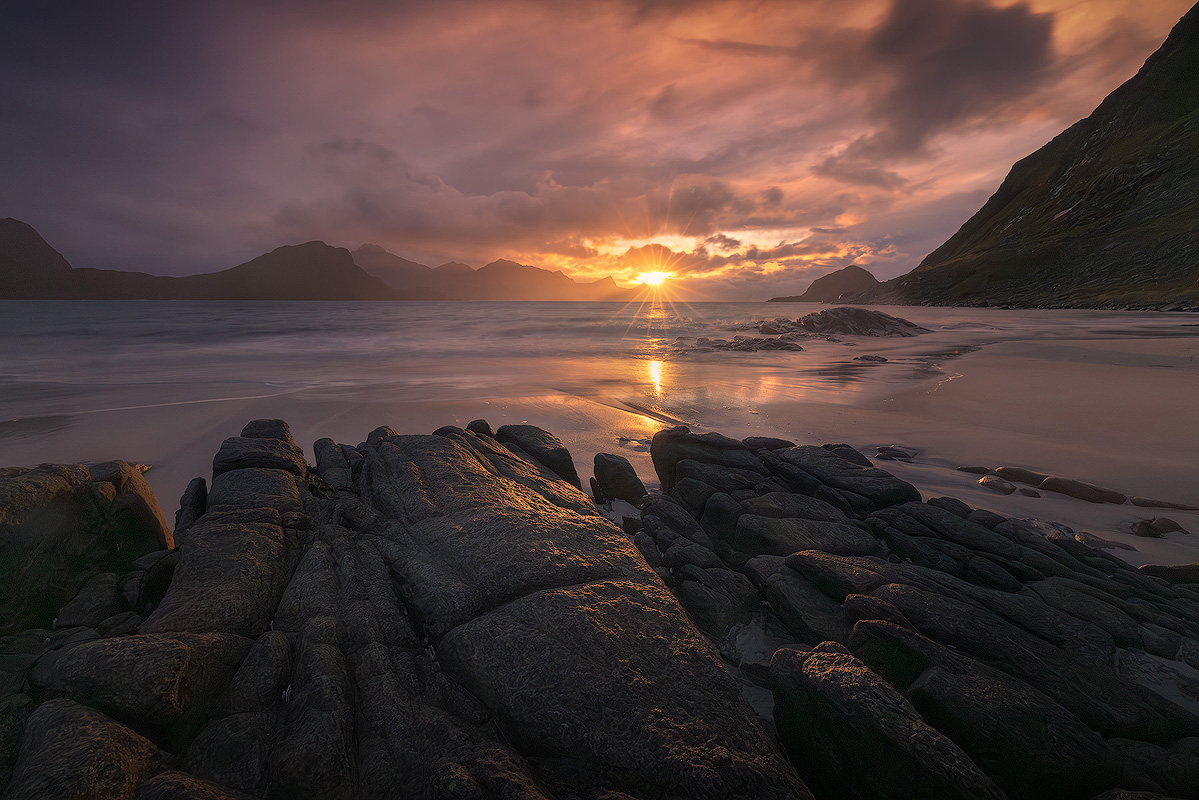
For example, compare a landscape photo shot from eye level against the same one from knee height with rocks in the foreground — the second will capture attention every time. It's an important element that separates great shots from average ones.
Using Leading Lines to Guide the Viewer's Eye
Rivers, ridgelines, fences, trails, shorelines — these are all natural leading lines that direct viewers attention from the foreground into the heart of an image. The trick is noticing them. They're everywhere once you start looking.
S-curves are especially powerful because the eye follows them slowly, traveling through the entire photograph rather than jumping straight to the main subject. Straight lines create urgency. Curved lines create exploration.
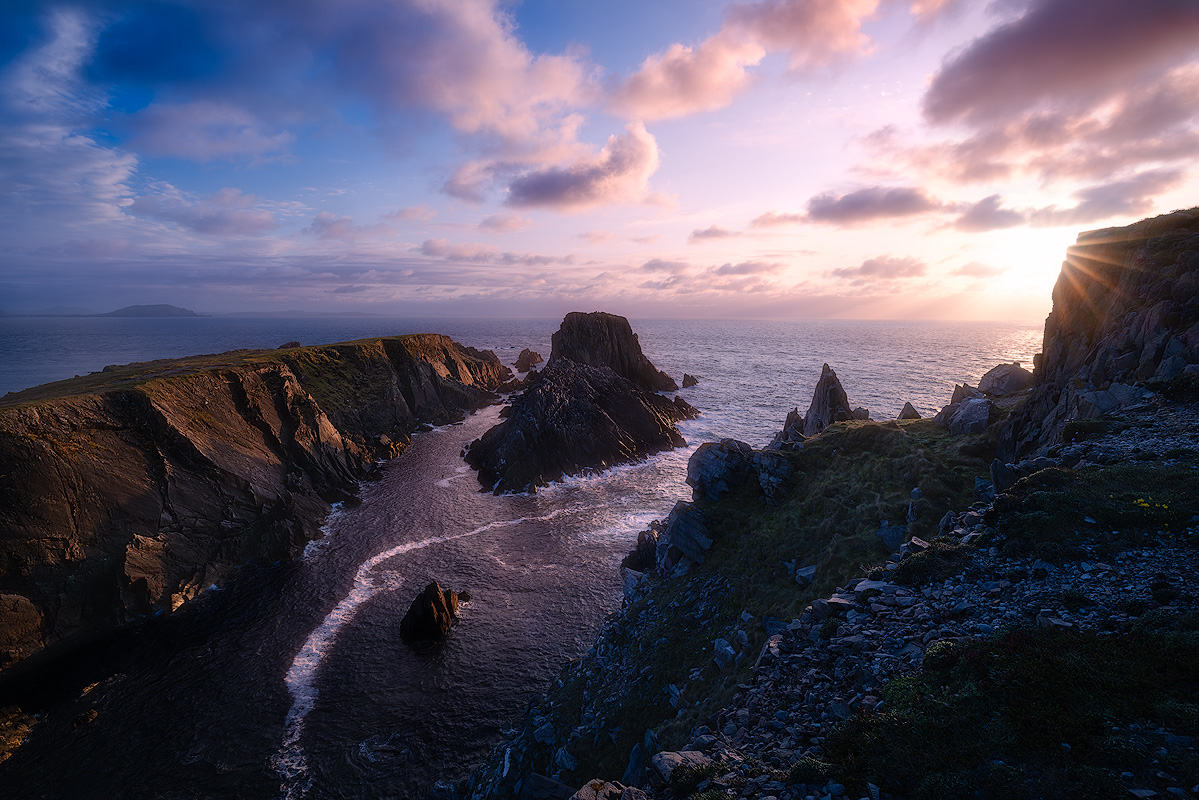
For example, a winding creek through an autumn meadow creates a path through the scene that keeps viewers engaged far longer than a static arrangement. When you use a thirds grid or thirds overlay on your camera's display, you can align leading lines precisely with the intersection points for stronger visual impact.
Visual Weight, Balance, and Negative Space
Every important element in your frame carries visual weight — dark objects feel heavier than light ones, large subjects heavier than small ones. How you balance that weight against other elements determines whether an image feels stable or tense, calm or dynamic.
Negative space — the empty areas surrounding your main subject — is one of the most underused tools in this craft. A lone tree in fog, a wide field of snow with one set of animal tracks — these landscape photos work because of the emptiness.
The viewer's eye searches for what's there, and when it finds the subject, it stays. Some of my strongest prints are photos that are mostly nothing. Good composition often means knowing what to leave out.
Reflections and Symmetry
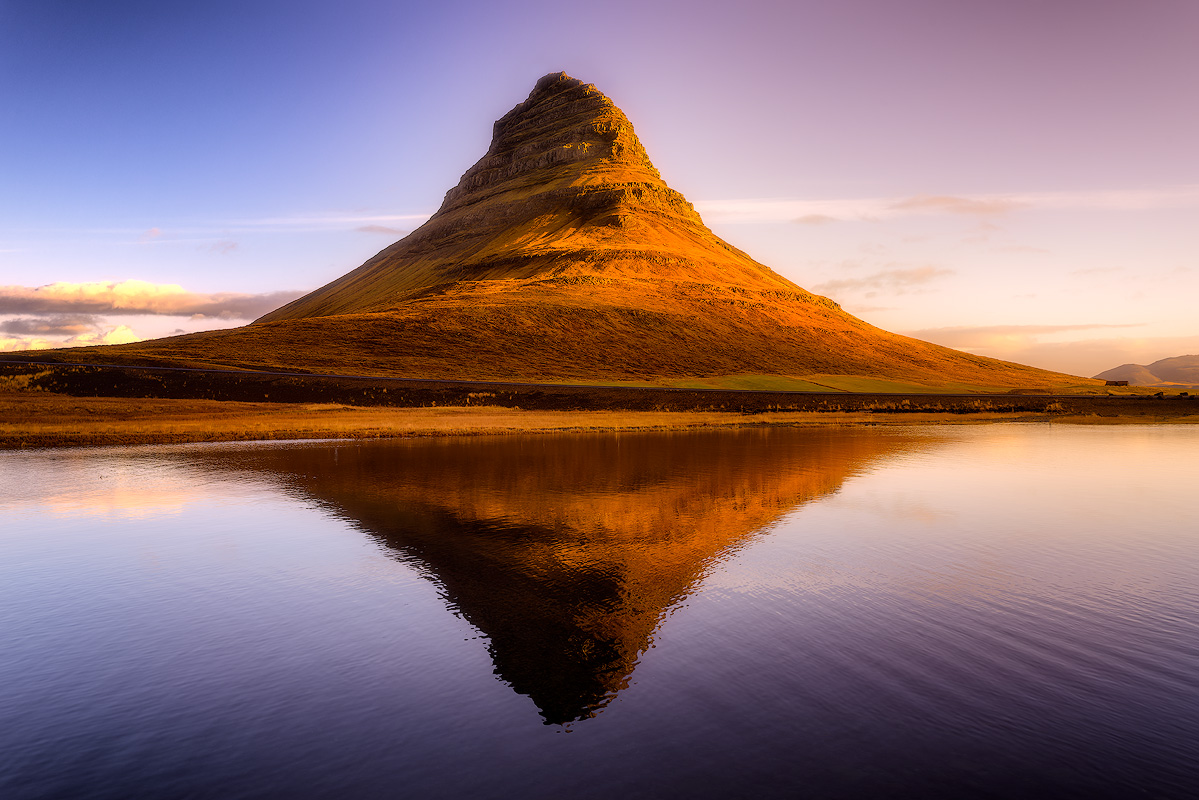
Reflections create natural symmetry that can make an image feel complete in ways asymmetrical arrangements don't. Find calm water, get your camera low — almost level with the surface — and let the reflection fill the bottom half of your frame.
I've laid flat on frozen gravel bars in Denali to get my lens inches off the water. The difference between shooting from chest height versus ground level is enormous.
But perfect symmetry isn't always the goal — partial reflections, where fog obscures part of the mirror or a ripple distorts one section, often create more interesting photos than a flawless mirror.
Move Your Feet Before You Change Your Perspective
This took me an embarrassingly long time to learn. I used to walk up to a scene, plant my tripod, and zoom in or out if I didn't like the frame. I almost never moved my feet.
That's backwards. Your physical position has a larger impact on the final image than your lens choice. Five steps to the left can eliminate a distracting element. Crouching down turns a flat meadow into a layered photo with foreground interest. Climbing to higher vantage points reveals patterns in the scene that are invisible from ground level.
Now I walk a location before I set up. I shoot test frames from different heights and angles. I look behind me — sometimes the strongest subject is in the opposite direction from where everyone else is pointing their cameras. Exploring multiple vantage points is the most important feature of strong field technique.
Light Makes or Breaks Your Image
You can nail every compositional technique in this post, but if the light is flat, the photo won't land. Light gives a scene its mood — it's the emotional layer sitting on top of your structural framework.
A mediocre location in extraordinary early morning light will produce a better image than a world-famous landmark under harsh midday sun. Every time.
Learning to read and anticipate light — to position yourself for it and wait — is what separates photographers who consistently create impactful images from those who get lucky once in a while.
What Golden Hour Actually Looks Like in the Field
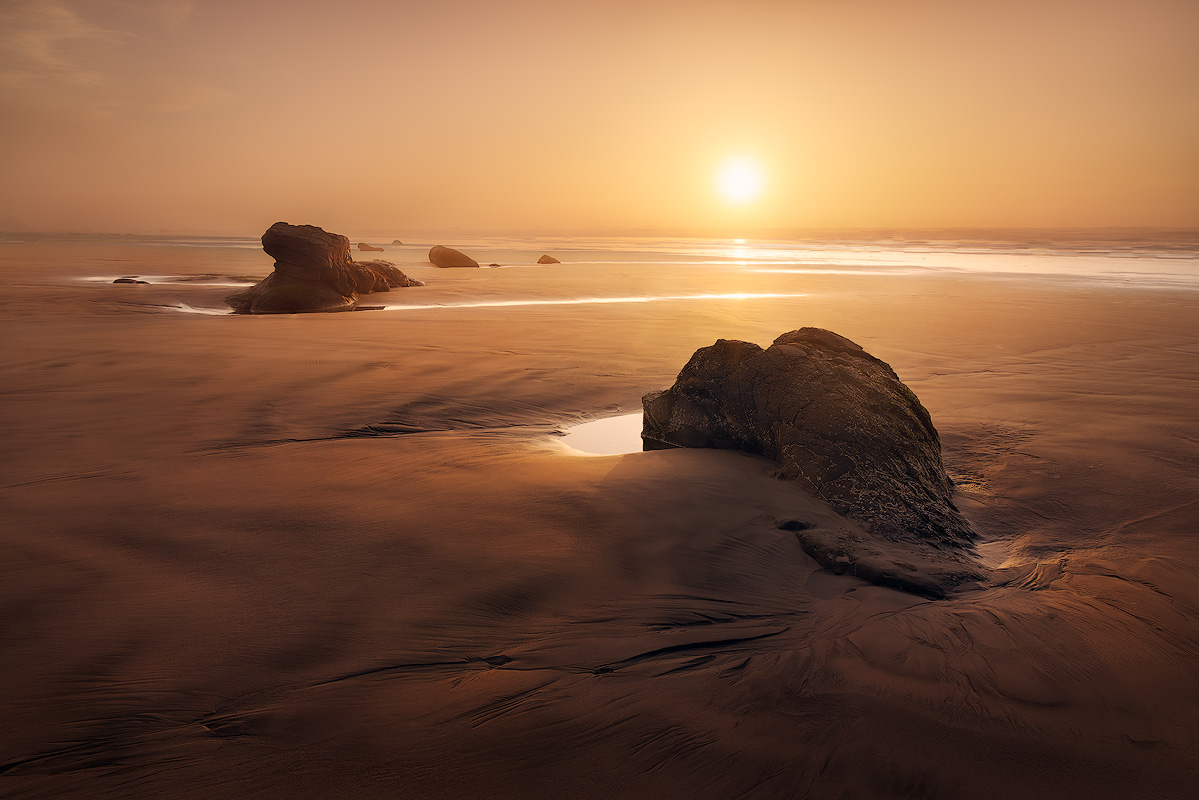
The warm tones just after sunrise and before sunset behave differently depending on latitude and terrain. In Fairbanks during September, the sun barely clears the horizon, so that low-angle glow can stretch for hours. In the Dolomites in October, you might get 15 minutes of warm light on the peaks before it's gone.
The twilight period before sunrise and after sunset — sometimes called blue hour — is often even more useful for shooting landscapes. The illumination is cool, even, and soft. Colors in the sky go deep.
Some of my favorite images were made during this window because everything gets quiet and the conditions give you something you weren't expecting. These are the moments that produce landscape pictures you'll want to print.
Why Overcast Days Are Underrated
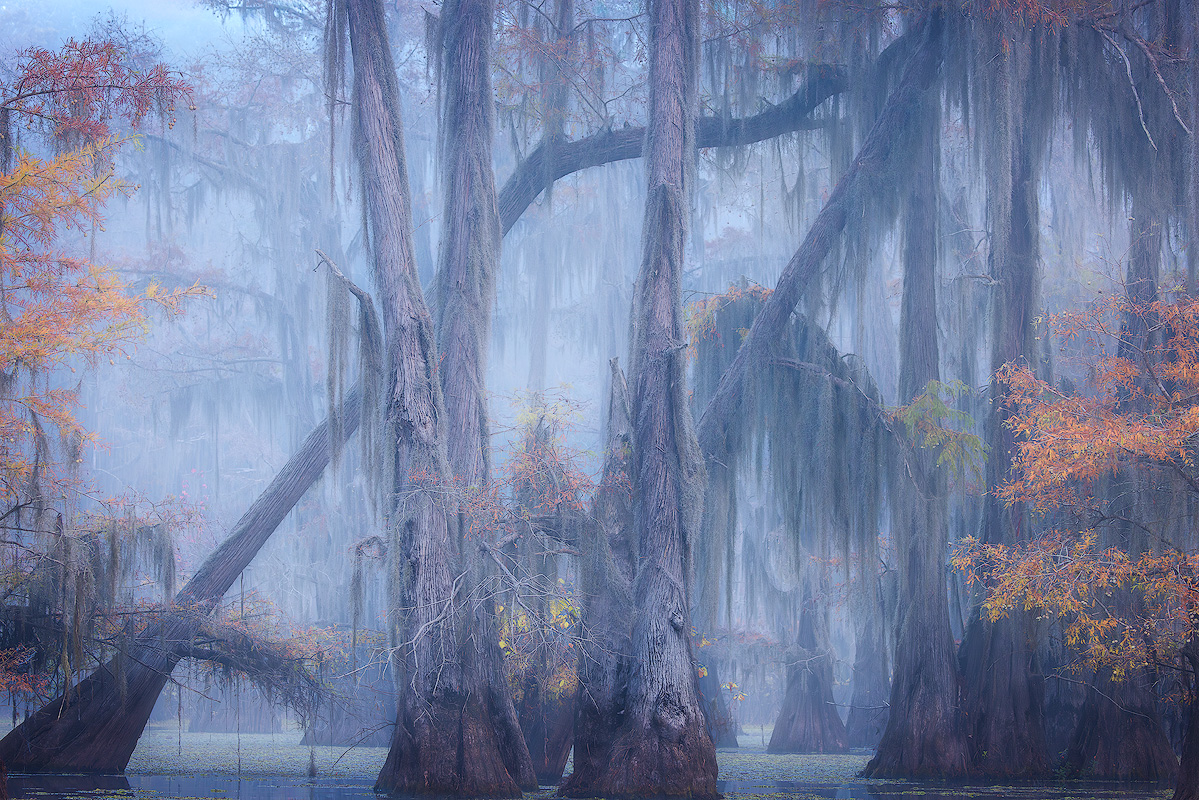
Not gonna lie — I used to pack up when clouds rolled in. Boy, was I wrong. Overcast skies act as a massive softbox — they eliminate harsh shadows, saturate colors, and let you shoot waterfalls and forests without fighting contrast.
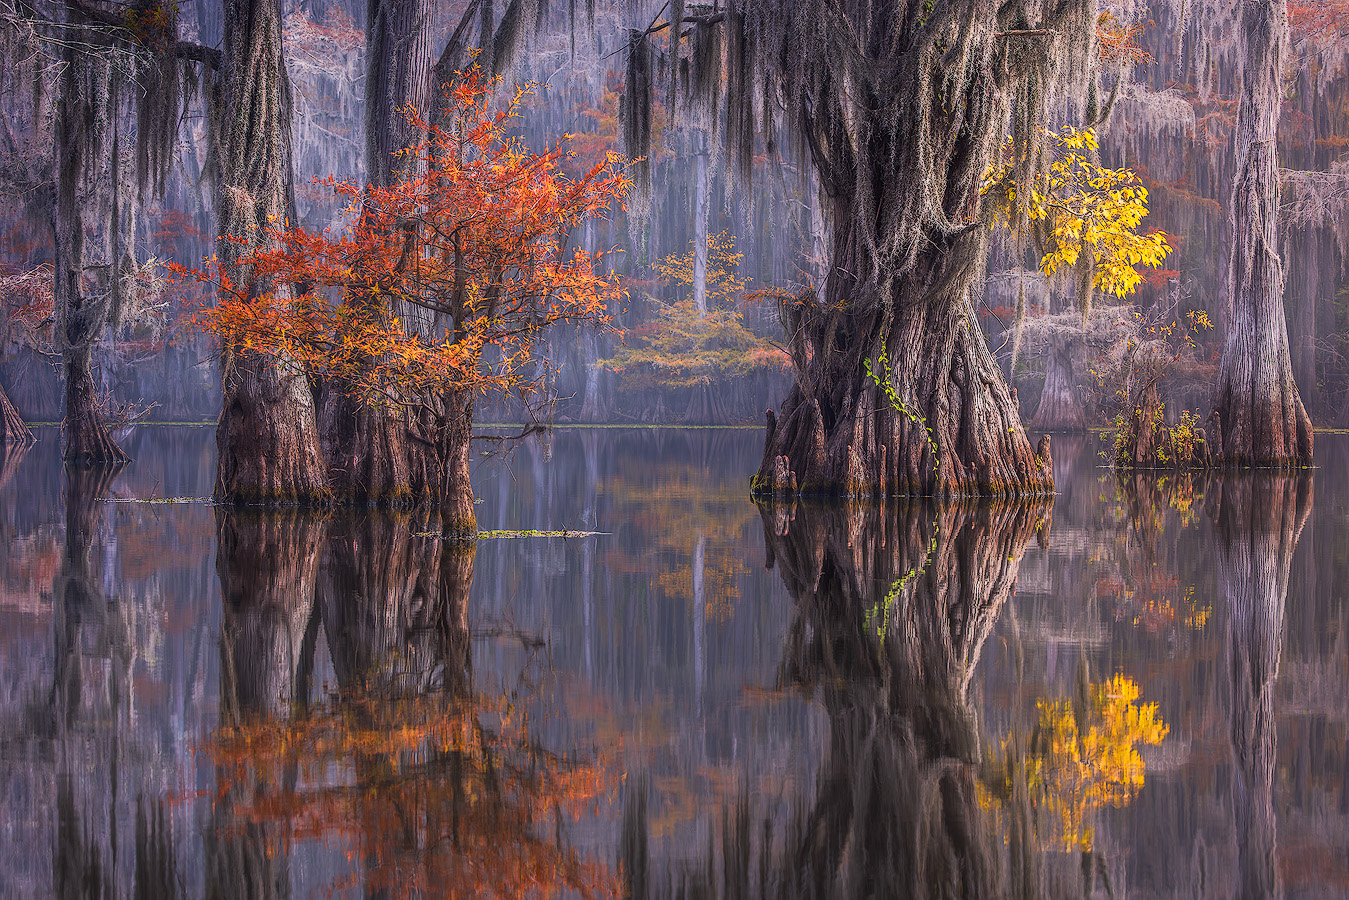
Some of my strongest images from the Caddo Lake cypress swamps and Oregon coast rainforests came under heavy cloud cover. The diffused light brought out textures in bark, moss, and water that direct sunlight would have blown out.
These are the scenes that reward patience and the willingness to shoot in conditions most photographers avoid.
Camera Settings That Actually Matter
Gear doesn't make the photographer. But understanding your settings gives you the control to translate what you're seeing into a sharp image. The difference between a technically sound photograph and a great one often comes down to deliberate choices.
The most important feature in any landscape camera is dynamic range — the ability to capture detail in both bright highlights and deep shadows simultaneously. But regardless of your camera body, mastering these three settings will transform your results. One of the fastest ways to improve image quality is understanding how ISO affects your landscape photos — and why keeping it low matters more than most beginners realize.
Aperture: F/8 to f/11 is the sweet spot for most lenses — deep depth of field without diffraction softness. If you have a strong foreground subject close to the lens, consider focus stacking (multiple frames focused at different distances, blended in post) for front-to-back sharpness.
Shutter speed: Fast speeds freeze motion. Slow speeds (1/4 second to 30 seconds) blur water and clouds into expressive textures. For example, a waterfall photograph at 1/500 looks static. The same scene at 1 second turns silky. At slower speeds, even minor camera shake degrades the image, so use a tripod and remote release.
ISO: Keep it as low as your camera allows — ISO 100 or 64 for the cleanest files. A slightly noisier photograph that captures the moment beats a clean shot of light that's already gone.
Aperture priority mode works well when conditions change fast — you set the aperture for depth of field and the camera handles the rest. For full control, switch to manual mode. Our complete guide to the exposure triangle for landscape photography walks through every scenario.
The Lens You Choose Changes the Story
Shoot the same scene with a 16mm wide angle lens and a 200mm telephoto and you'll get images that look like they're from different planets. The focal length you choose is a creative decision, not just a technical one.
Wide lenses (14–35mm) capture expansive views and exaggerate the distance between foreground and background elements. But they demand strong composition — because they include so much, it's easy to create cluttered, directionless images without a clear subject.
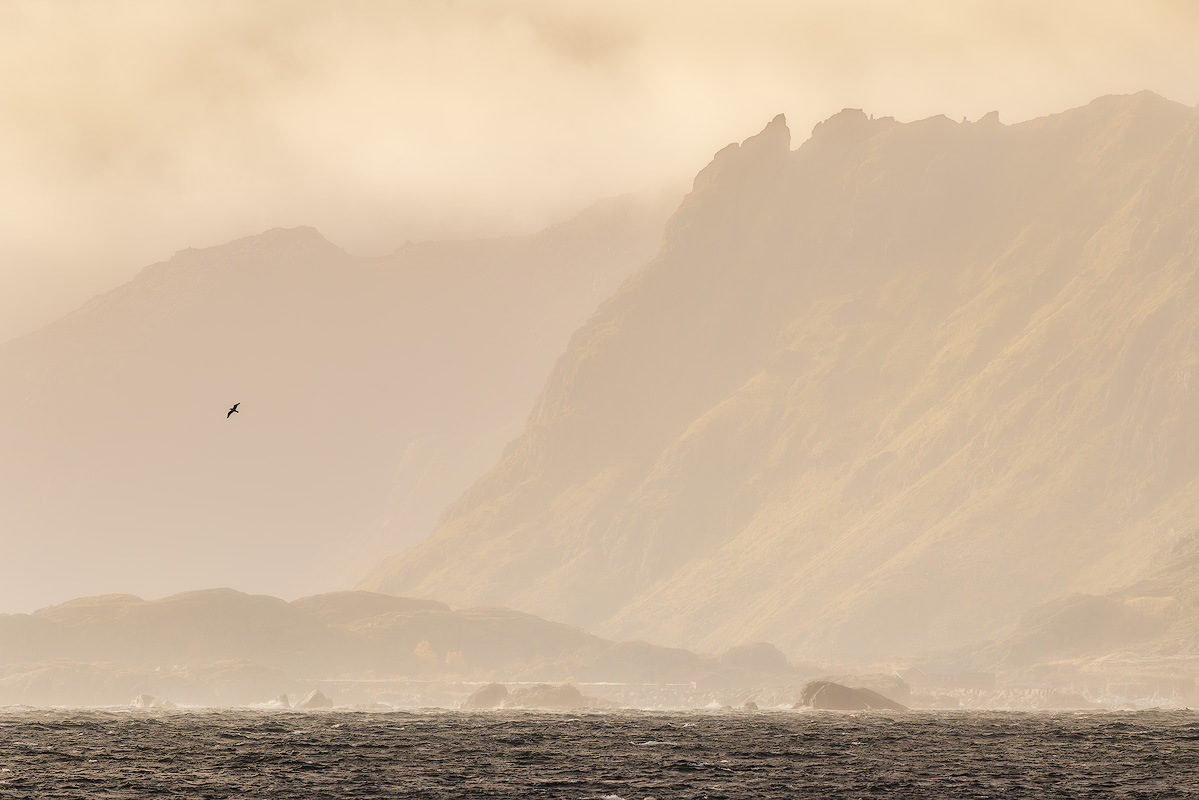
Telephoto lenses and any long lens (70–200mm+) compress distance, stacking layers on top of each other. They're perfect for intimate landscape photographs — isolating a single tree on a hillside, a patch of light on a cliff face, the texture of sand dunes. I use my 100–500mm for landscape work more than most photographers expect. For a deeper look at how focal length shapes your landscape photographs, that guide breaks down wide-angle vs. telephoto decisions in detail.
Long Exposure Techniques
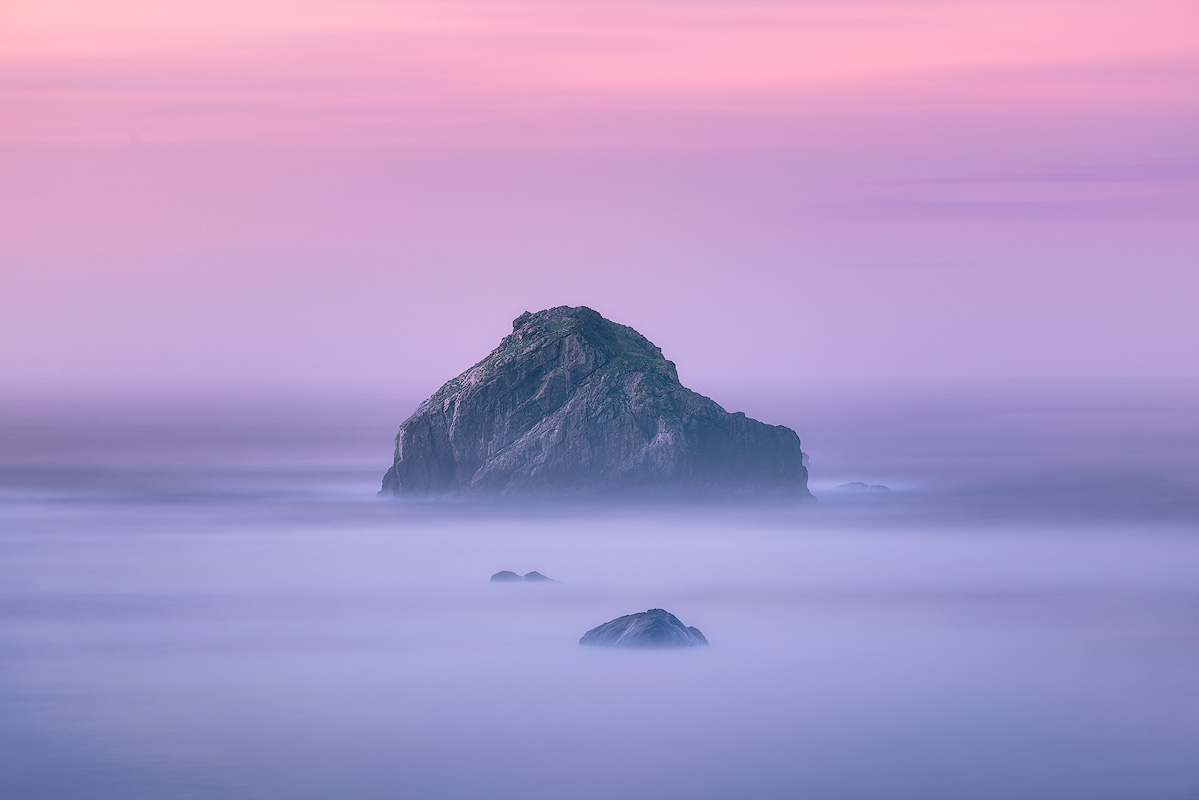
Long exposure is where this craft crosses into something meditative. Water turns to silk. Clouds smear across the sky. The image shows something the naked eye never sees.
ND filters are the key — essentially sunglasses for your lens, letting you use slow shutter speeds in daylight without overexposing. A 6-stop ND is the most versatile starting point. A 10-stop handles heavier work — smoothing ocean waves into fog, stretching clouds into streaks.
A polarizing filter is also worth carrying — it cuts glare from water and foliage while deepening skies, and that effect can't be replicated through photo editing alone.
Focus stacking solves the problem of near-far sharpness. Shoot multiple frames of the same subject, each focused at a different distance, then blend them in Lightroom, Photoshop, or Helicon Focus. The result is a sharp image from the rocks at your feet to the peaks on the horizon.
Planning and Scouting — The Work Before the Shot
Great shots rarely happen by accident. They happen because the photographer did the work before ever picking up the camera. Planning is a critical part of the creative process, and the tools available today make it easier than ever.
PhotoPills shows exactly where the sun and moon will rise and set from any location. Google Earth lets you scout a scene remotely and identify potential vantage points before your photography trips. Windy and Mountain Forecast give weather data specific to elevation and geography.
But planning is a starting point, not a script. Some of my best photos came from conditions I didn't plan for — a fog bank rolling in, a break in the clouds that lasted 90 seconds. You plan so you're in the right place. Then you stay flexible.
Arriving Early and Staying Late
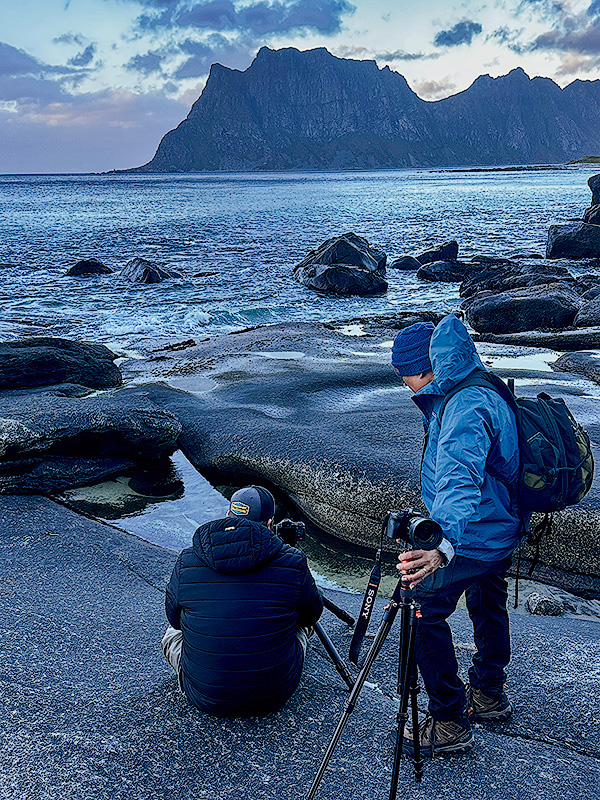
This sounds simple, and it is. But most photographers show up at sunrise and leave right after. The transitional light — 45 minutes before the sun appears, an hour after it sets — is often more interesting than the main event.
You need time to set up, adjust, and find your frame before good light arrives. Rushing kills good photos.
Photo Editing Without Overdoing It
Post processing is where your raw file becomes your finished photograph. But it's also where a lot of photographers lose the thread. Photo editing should enhance, not manufacture.
RAW files are flat by design — they need work. But there's a difference between enhancing what was in the shot and manufacturing an image that never existed. My approach: if it was there, I'll bring it out. If it wasn't, I won't add it.
My workflow is consistent after 20 years. Import into Lightroom. Global adjustments first — exposure, white balance, highlights, shadows, clarity. Then local adjustments with graduated and radial filters. For a deeper dive into how each slider actually transforms your pixel data, see my landscape photography post-processing guide.
Sharpening and noise reduction last. The whole process takes 10–20 minutes per image. If a photograph takes longer than that, the capture probably needed to be stronger in the field.
The Hardest Skill: Patience
Patience in landscape photography isn't passive. It's active — being in position, camera set up, settings dialed, and then waiting for conditions to align. Most landscape photographers underestimate how much of this craft is simply being present and ready.
I've stood on frozen lakeshores near Fairbanks at -30°F, watching the sky do nothing for two hours before the aurora exploded overhead and I had 15 minutes to work with. Those 15 minutes exist because of the two hours before them.
Patience also means returning to the same location across seasons. I've photographed the same subject — the Chena River — dozens of times. Each visit teaches me something new about how the light interacts with the terrain, how water levels change the frame, how snow transforms the mood.
Every return visit captures something the last one missed. That's what keeps me coming back.
FAQ — Landscape Photography Tips for Common Questions
What Is the Best Camera for Landscape Photography?
Any modern camera with manual controls and RAW capability will work — you can shoot landscapes. Full-frame cameras offer advantages in dynamic range and low-light performance, but APS-C and Micro Four Thirds cameras produce excellent landscape photographs.
Invest in quality glass before upgrading your body — the lens has a larger impact on image quality than the sensor behind it. Don't rush out for new equipment until your current gear is genuinely limiting your creative process.
Do I Need a Tripod for Landscape Photography?
Yes. A sturdy tripod is the single most important accessory for this type of work. It enables long exposures, focus stacking, and precise good composition. It also forces you to slow down, which almost always leads to stronger photographs.
How Do I Photograph the Northern Lights?
Use a sturdy tripod, a wide lens at its widest aperture (f/2.8 or wider), ISO 1600–6400, and a 10–15 second shutter speed. Use manual focus set to infinity. The aurora is one of the most rewarding subjects for landscape photography — my complete northern lights photography guide covers gear, settings, and planning in depth.
What Is the Exposure Triangle?
Aperture, shutter speed, and ISO — the three settings controlling how much light reaches your sensor. For landscapes, use a narrow aperture (f/8–f/11), the lowest ISO your conditions allow, and a shutter speed determined by whether you want to freeze or blur motion. Mastering these three elements gives you full creative control over every photo.
How Do I Improve My Landscape Photography Composition?
Start with the rule of thirds and leading lines as foundations, then experiment. Add foreground elements to create depth. Look for natural frames — rock arches, tree branches, cave openings.
Simplify by removing distracting subjects from the edges of the frame. For example, spend time walking a location before committing to a photograph — the first composition you find is rarely the strongest.
Shoot the same subject from multiple angles and heights before choosing your frame. Great photographs come from photographers who explore before they commit.